

In today's world, a security camera system has transitioned from a luxury item to a fundamental component of home security. The sight of a well-placed camera offers peace of mind and acts as a powerful deterrent. But between choosing the right hardware and getting it up and running, there lies a critical decision: should you undertake the security camera installation yourself, or hire a professional? The answer isn't always straightforward and depends heavily on your budget, your technical comfort level, and the complexity of the system you choose.
This comprehensive guide will walk you through every aspect of the installation process. We'll demystify the costs, provide a detailed step-by-step plan for a do-it-yourself project, and give you the clear-eyed perspective needed to decide which path is right for you, ensuring your home is protected effectively and efficiently.
What is a Security Camera System? A Quick Refresher
Before we talk installation, let's quickly define what a modern security system entails. It’s more than just a camera. A system typically consists of:
-
Cameras: The eyes of the system, responsible for capturing video. These can be wired or wire-free.
-
A Recording Solution: This is either a local, physical device like a Network Video Recorder (NVR) or Digital Video Recorder (DVR), or, more commonly today, a secure cloud-based server where your footage is stored.
-
A Viewing Interface: This is usually a smartphone app or web portal that allows you to view live footage, review recordings, and manage your system from anywhere in the world.
The most significant factor influencing the installation process is whether your system is wired or wire-free. Traditional wired systems (like CCTV) require physical cables for both power and data, making installation a complex task. Modern wire-free systems, however, are powered by batteries and connect via Wi-Fi, making a DIY security camera installation dramatically more accessible for the average homeowner.
The Big Question: How Much Does It Cost to Install Security Cameras?
This is often the first question homeowners ask, and the answer is a wide spectrum. The final cost to install security cameras depends on the number of cameras, the type of system (wired vs. wire-free), and, most importantly, who does the work.
The Cost of Professional Installation
Hiring a professional for your house security camera installation offers expertise and peace of mind, but it comes at a premium. The cost is typically broken down into several components:
-
Labor Costs: This is the bulk of the expense. Most professional installers charge on a per-camera basis, with rates often ranging from €100 to €300 per camera, depending on the complexity. For a typical 4-camera system, you can expect the labor alone to be anywhere from €400 to over €1,200. Some companies may charge an hourly rate instead.
-
Hardware Costs: Professional security firms will sell you the hardware as part of a package. While convenient, this hardware may come with a significant markup compared to buying it directly from a retailer.
-
Activation and Subscription Fees: Many professional installations are tied to a monitoring service. This can involve an initial activation fee and a recurring monthly subscription fee for professional monitoring, cloud storage, and support.
The Verdict on Pro Installation: For large, complex, wired installations that require running cables through walls and attics, a professional is often worth the investment. They have the tools, experience, and insurance to do the job correctly and efficiently.
The Cost of DIY Security Camera Installation
This is where homeowners can realize massive savings. With a DIY approach, your primary, and often only, cost is the hardware itself.
-
Hardware Costs: You purchase the cameras directly. A single high-quality wire-free outdoor camera can range from €70 to €250. A multi-camera kit can offer even better value.
-
Tool Costs: You will likely need some basic tools. Most homeowners already have a drill, screwdrivers, and a ladder. If not, these would be an additional one-time cost. For more complex wired installs, you might need specialized tools like fish tape or an Ethernet crimper.
-
Subscription Fees (Optional): Even with a DIY install, you may choose to subscribe to a cloud storage plan for your video footage. These plans are optional and typically cost between €3 and €10 per month, per camera.
The Verdict on DIY Installation: For modern, wire-free security systems, the DIY route is incredibly cost-effective and well within the capabilities of the average person. You save hundreds, if not thousands, of Euros in labor costs and have complete control over your system.
The Ultimate DIY Guide: How to Install Outdoor Security Cameras

Ready to take on the project yourself? Following a structured plan is the key to a smooth and successful installation. Here’s how to install security cameras and get it right the first time.
Step 1: The Blueprint - Planning Your House Security Camera Installation
Do not skip this step. Proper planning is 90% of the job and will save you immense frustration later.
-
Walk Your Property: Grab a notepad and walk the entire perimeter of your home. Think like a burglar. Where are the most vulnerable points? Key locations typically include the front door, back door, patio doors, ground-floor windows (especially those hidden from street view), and the driveway.
-
Choose Your Vantage Points: For each location, determine the best mounting spot. You want a high vantage point (around 2.5-3 meters or 8-10 feet) to prevent tampering, angled slightly down to capture faces.
-
Check Your Wi-Fi Signal: For wire-free cameras, this is non-negotiable. Take your smartphone to each proposed mounting location and run a Wi-Fi speed test. You need a strong, stable signal for reliable video streaming and alerts. If the signal is weak, you may need to move your router or invest in a Wi-Fi extender.
Step 2: Gathering Your Tools and Equipment
Before you climb a ladder, get all your tools together. For a typical wire-free installation, you’ll need:
-
Your security cameras (fully charged)
-
A sturdy ladder
-
A power drill with drill bits
-
Screwdrivers
-
A pencil for marking holes
-
A level to ensure a straight installation
-
Your smartphone with the camera’s app installed
Step 3: The Installation - Mounting Your Cameras
This is the main event.
-
Position the Mount: Hold the camera’s mounting bracket against the wall at your chosen location. Use a level to make sure it’s straight.
-
Mark the Holes: Use your pencil to mark the location of the screw holes through the bracket.
-
Drill Pilot Holes: Remove the bracket and drill pilot holes on your marks. If you’re drilling into masonry (brick or concrete), you’ll need a masonry bit and will likely need to insert wall anchors.
-
Secure the Mount: Screw the mounting bracket firmly to the wall.
-
Attach the Camera: Secure your camera to the mount according to the manufacturer's instructions.
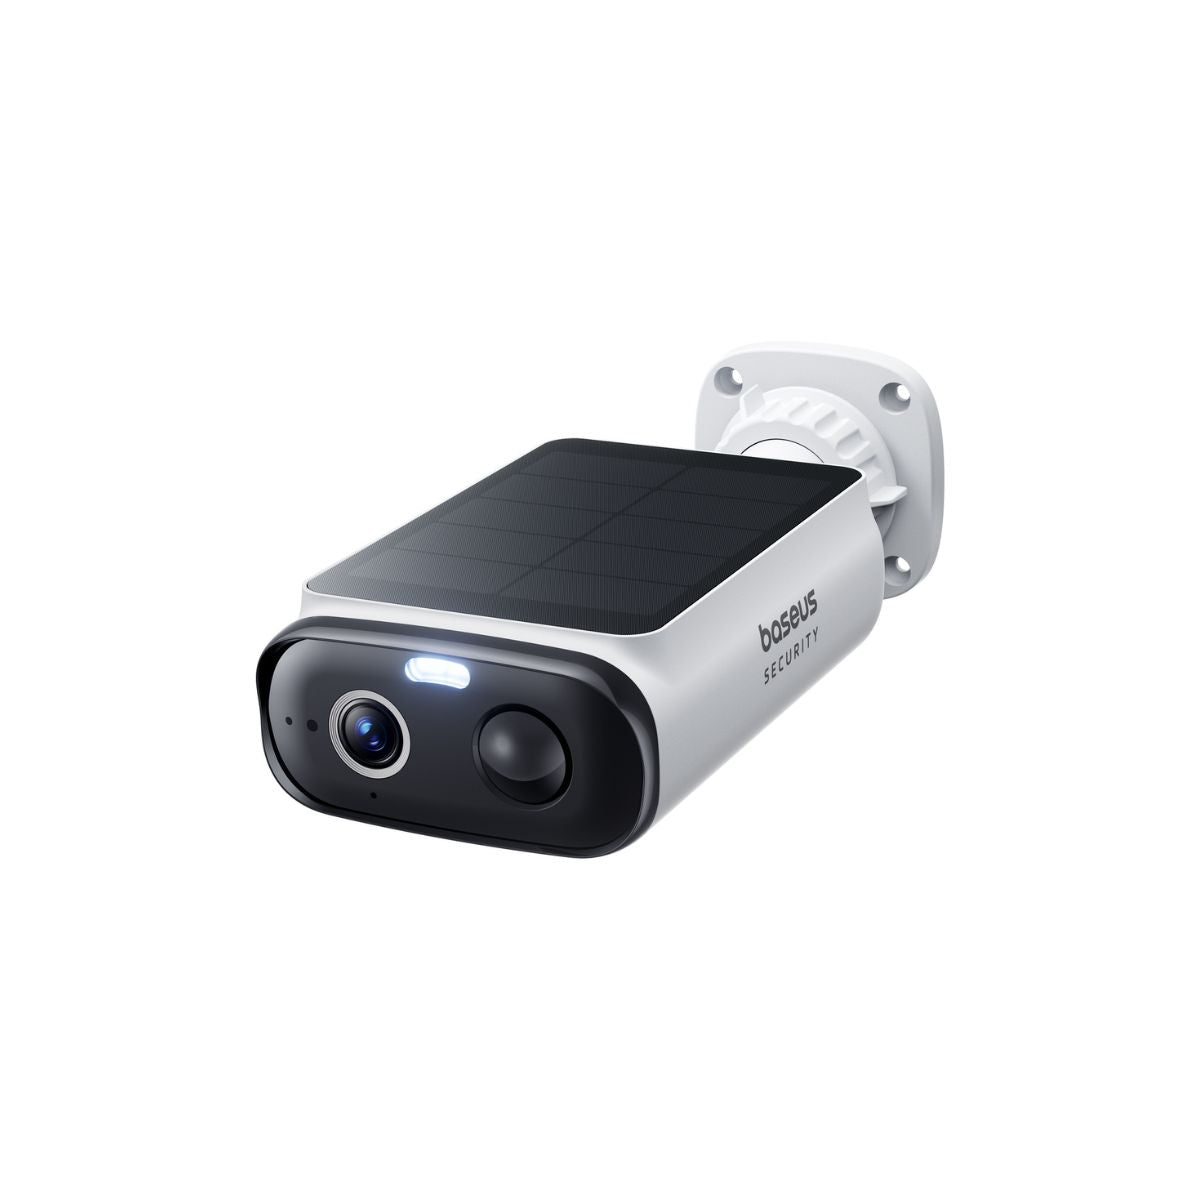
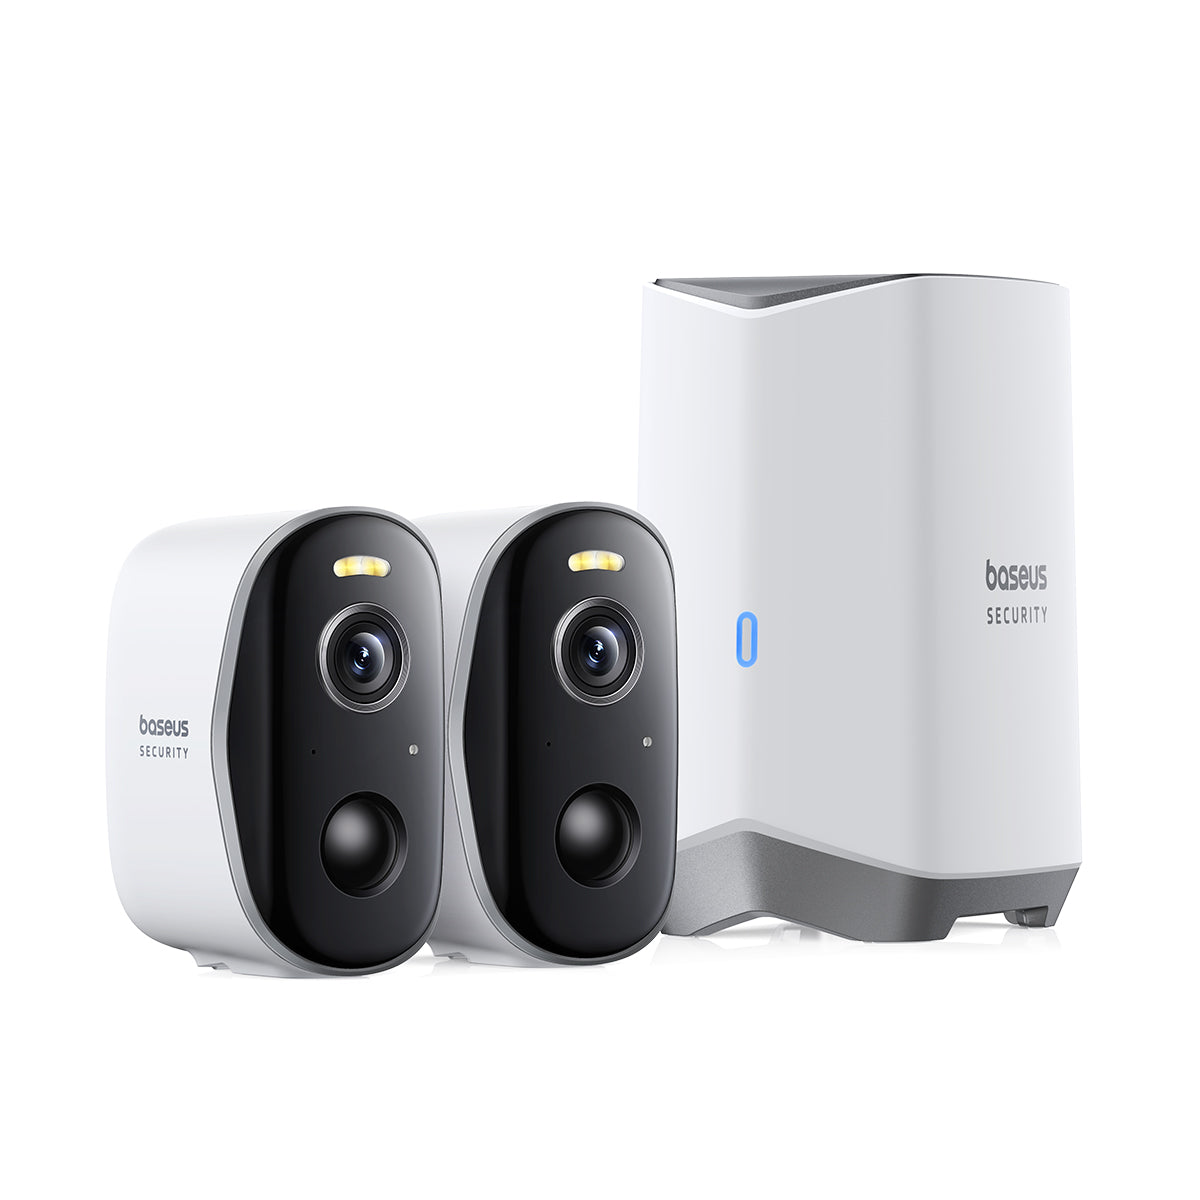
Modern cameras are designed for an easy DIY security camera installation. A versatile camera like the Baseus N1 Outdoor Security Camera, for example, comes with a simple, robust mounting bracket that makes this process quick and painless. For a more advanced setup like the Baseus S1 Pro Outdoor Security Camera, you'll also position its high-efficiency solar panel, ensuring it gets several hours of direct sunlight per day. This brilliant feature eliminates the need to ever take the camera down for charging, simplifying long-term maintenance.
Step 4: Power and Connectivity - Getting Your Cameras Online
This step is incredibly simple for wire-free cameras. Because you’ve already charged the batteries and confirmed the Wi-Fi signal, all you need to do is follow the in-app instructions. The app will typically guide you through a process of scanning a QR code with the camera to securely connect it to your home Wi-Fi network. This usually takes just a few minutes per camera.
Step 5: The Final Setup - Configuring Your System
The physical Security Camera Installation is done, but the job isn't finished. Now you need to fine-tune the software.
-
Adjust the View: Use the live view in your app to make final adjustments to the camera's angle.
-
Set Motion Zones: Draw activity zones to focus on important areas (like your walkway) and ignore others (like the street) to reduce false alarms.
-
Configure Alerts: Adjust motion sensitivity and decide what types of alerts you want to receive (e.g., person detection only).
The Verdict: Is DIY Security Camera Installation Right for You?
Ultimately, the choice between DIY and professional installation comes down to your comfort level and the system you've chosen. If you're installing a complex, fully wired system with a central NVR, and the thought of drilling holes and fishing cables through your attic sounds daunting, hiring a professional is a wise investment.
However, for the vast majority of modern, wire-free security systems, the DIY approach is not only achievable but empowering. If you can use a power drill and follow app instructions, you possess all the necessary skills. A successful Security Camera Installation is less about technical wizardry and more about thoughtful planning. By taking the time to design your system and following a methodical process, you can save a significant amount of money and gain a deeper understanding of the technology that keeps your home safe.
Ready to take control of your home security?
Explore our complete collection of security cameras and find the perfect fit for your home.


